By: Maddie Christy
Have you ever wondered how to make homemade jam? Or thought about it, but figured it was much too hard?
You’re in the right place! And I felt the same way as you a couple days ago before the ECHO experts taught me how to make jam for the first time!
Join me on the blog today in learning to make the best (seriously, I love this stuff!) homemade mango jam. This is an easy step-by-step method for any experience level, and we’ll have lots of tips and tricks from experts along the way!
Let’s jump right in!
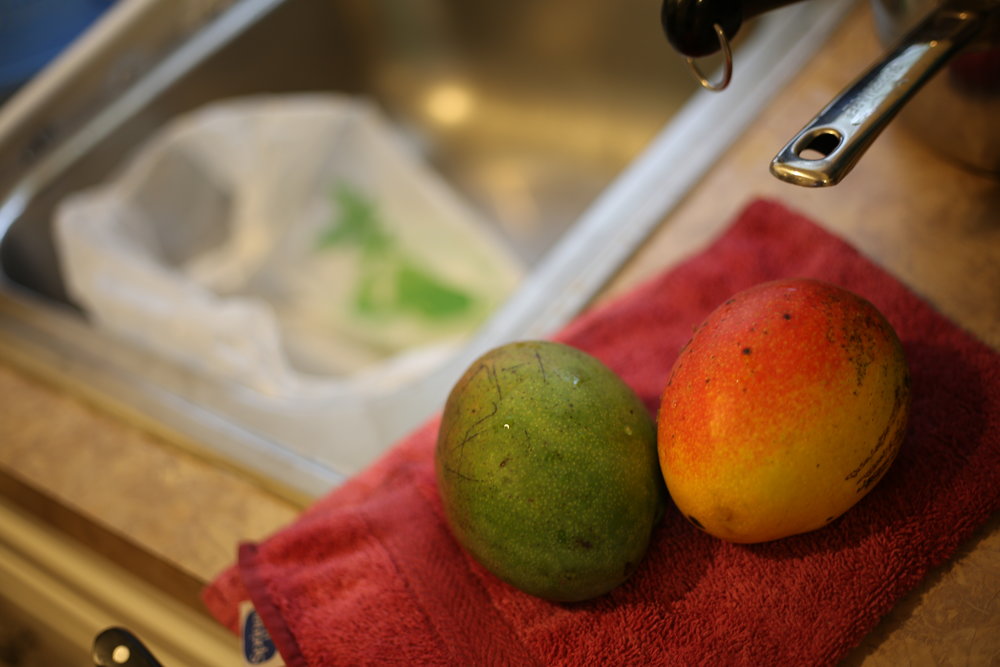
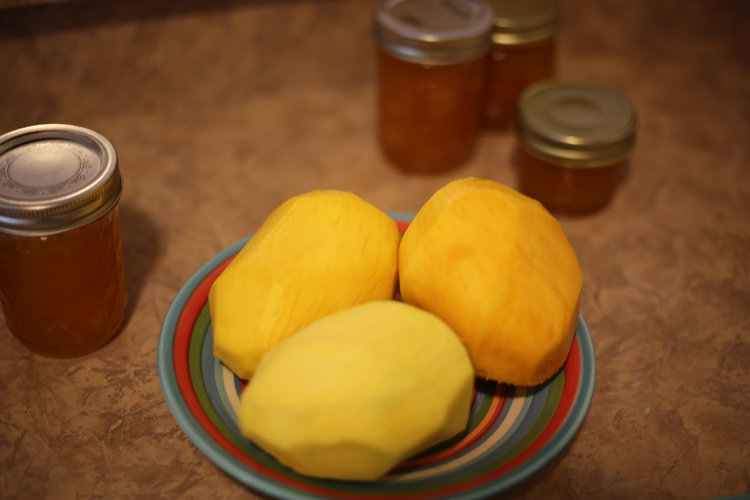
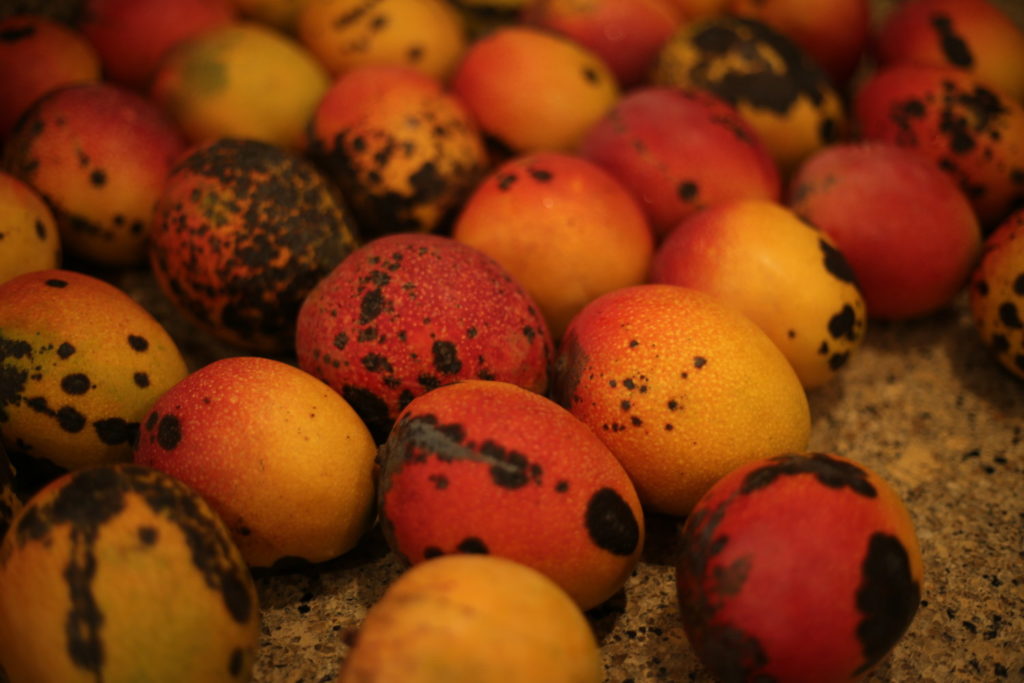
First, you’ll need lots of mangoes! Here’s what we started with.
THE RECIPE:
4 cups chopped mangoes
1/2 cup lemon juice
1/2 tsp butter
1 box Sure Jell (fruit pectin)
4 cups sugar
(This recipe yields approximately 7, 8 oz. jars of jam)
THE PROCESS:
Step One: Prep
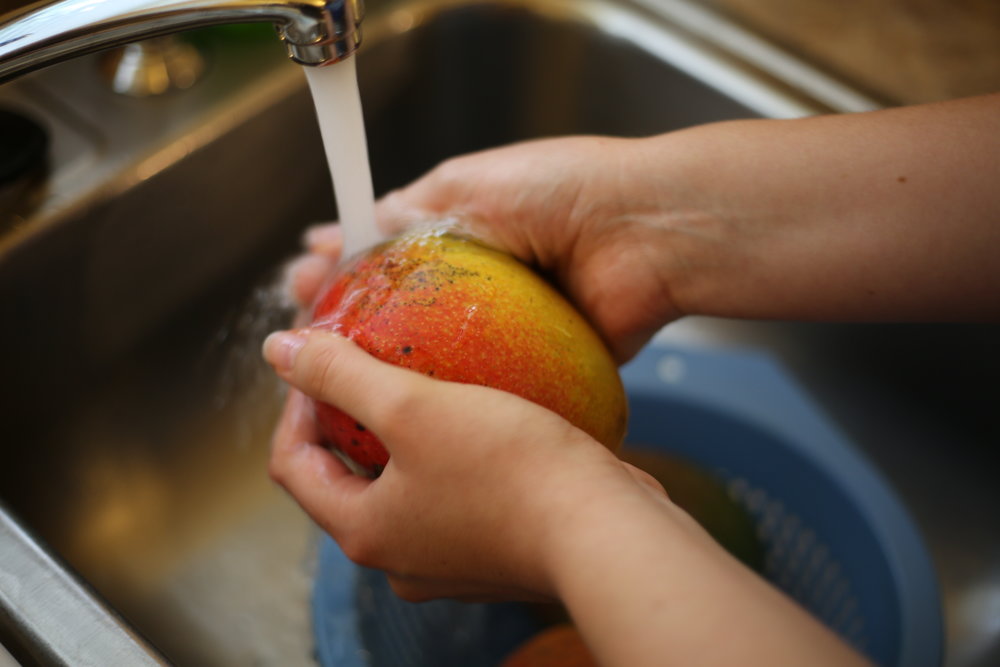
Wash the mangoes and place a bag in the sink to collect scraps for composting.
Also collect and measure sugar, lemon juice, butter, and pectin. Set aside to combine in a later step.
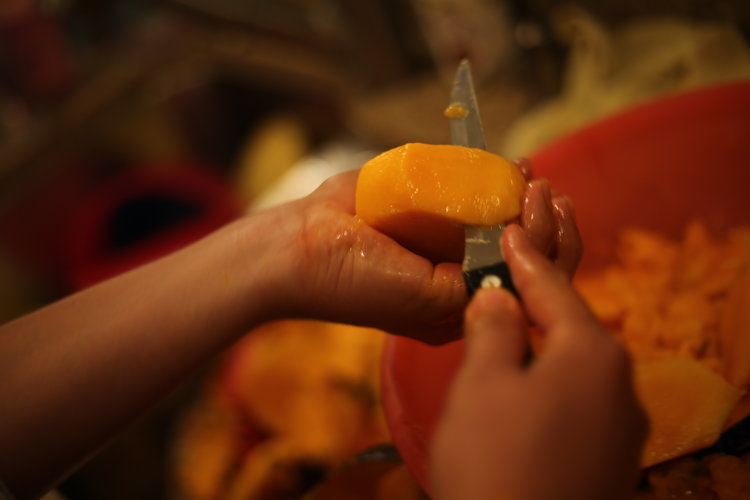
Step Two: Peel
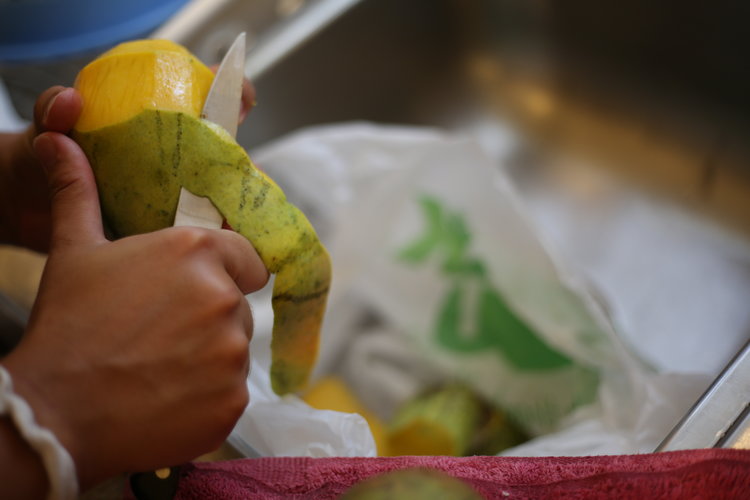
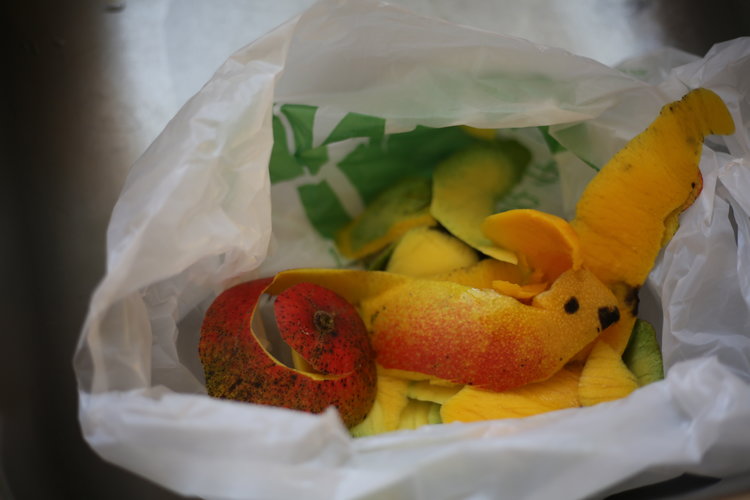
Peel all the skin off the mangoes either in a circular motion or in vertical slices. Collect the scraps in a bag for composting.
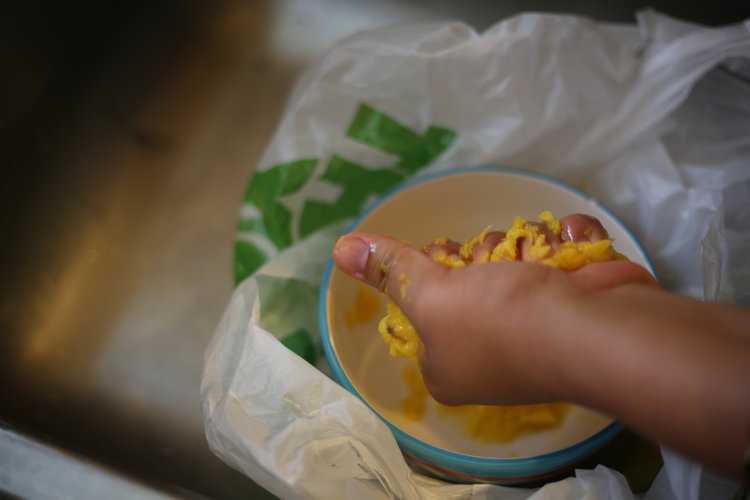
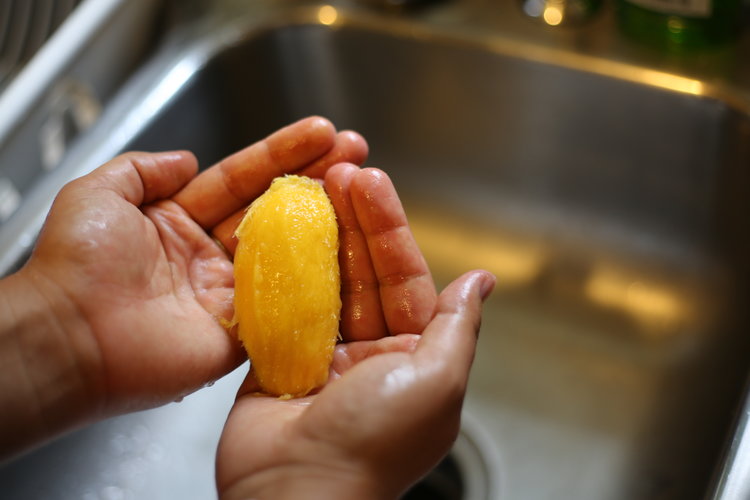
Step Three: Slice and Squeeze
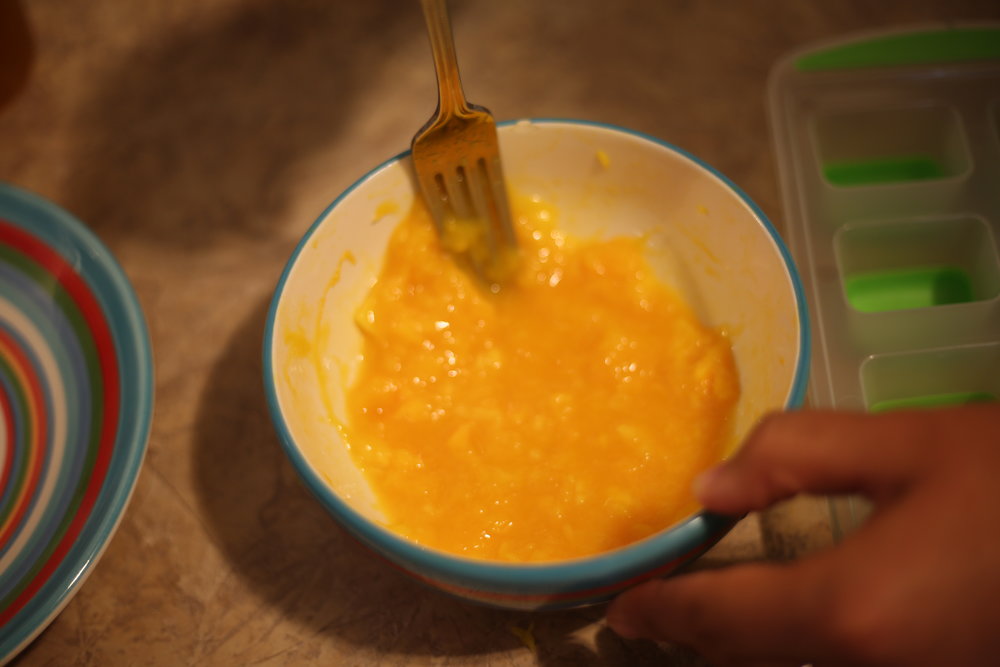
Slice and squeeze the mangoes. Get as much fruit off the pit as possible. Collect it all in a bowl. It will all be mashed eventually so don’t worry about making it look nice!
Step Four: Begin boiling
Measure out 4 cups of chopped or mashed mango. The consistency is your choice. Keep in mind that big chunks will boil down. The ECHO experts prefer a chunky mango jam to a smoother version.
Combine mango, lemon juice, butter, and pectin in a large pot.
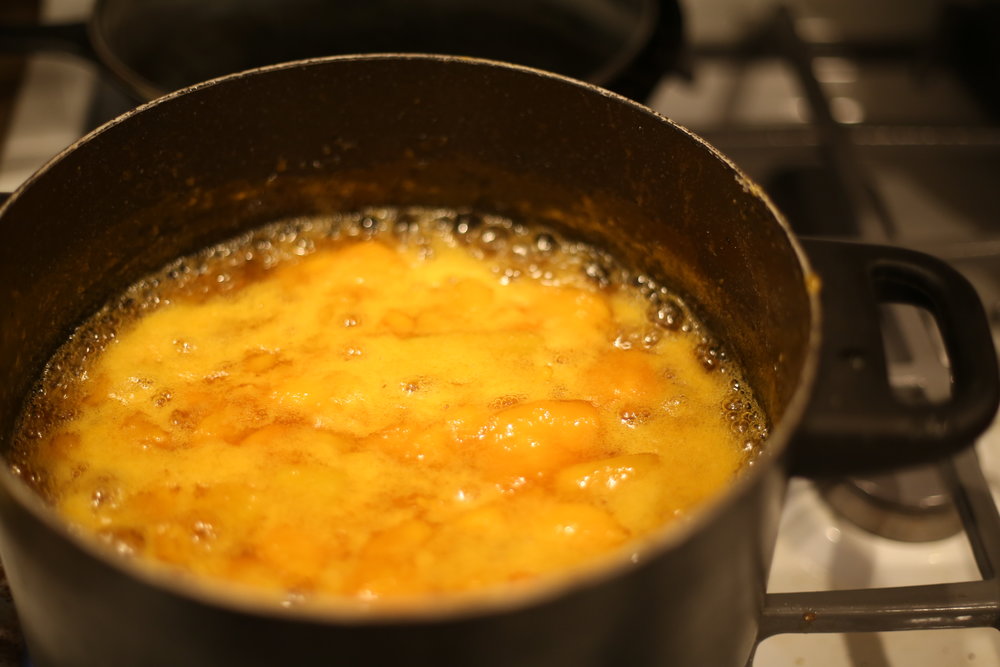
Bring it to a rolling boil.
What is a rolling boil?! It means the mangoes can be stirred and it will keep boiling instead of dying down like they would if they were just simmering.
Step Five: Add sugar
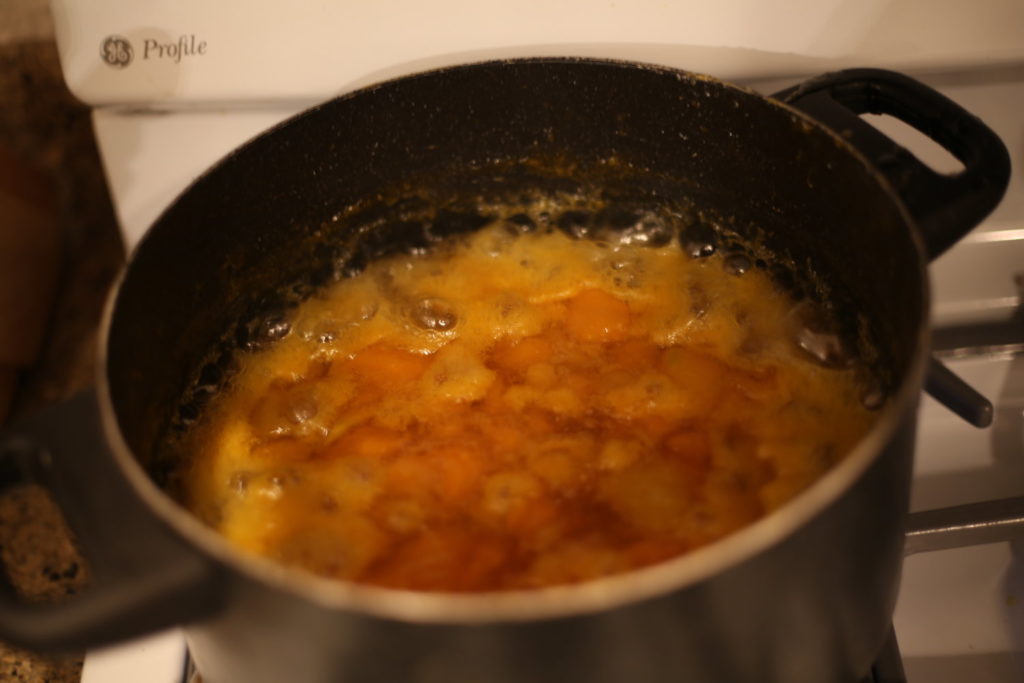
Once the mixture has begun boiling, stir in 4 cups of sugar.
Bring the new mixture back to a boil.
Let the jam mixture boil for 3 minutes. Seriously! 3 whole minutes. Set a timer!
It’s important to get this step right in order for the sugar to have the proper reaction that creates the jam consistency. Science says so, and so do the ECHO experts!
Step Six: Fill jars
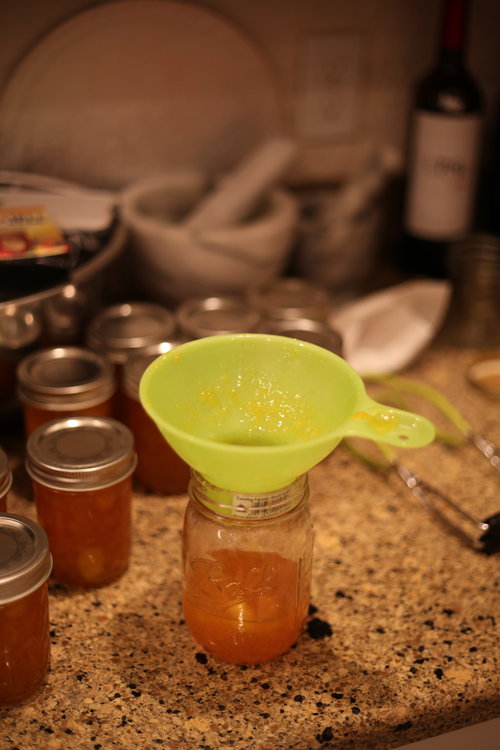
After 3 minutes, ladle the jam into jars. This recipe should yield about 7, 8 oz. jars.
We recommend using a funnel! (Which you can purchase here).
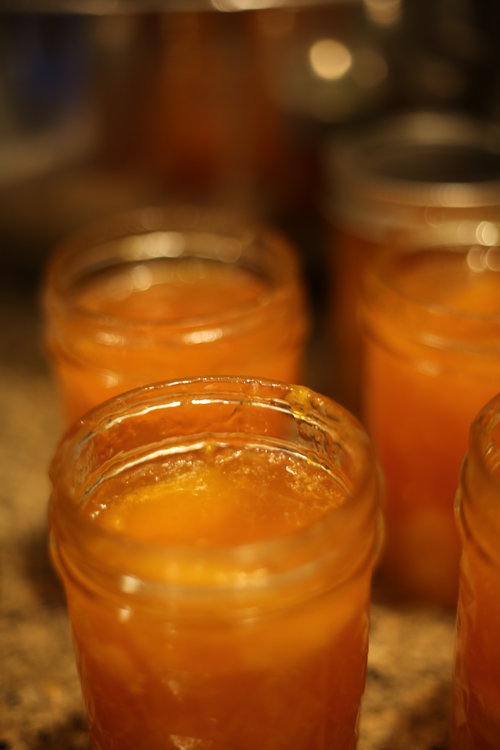
Do not fill the jar to the brim. Leave about 1/4 of an inch of space at the top.
Lightly screw on caps.
Step Seven: Hot water bath
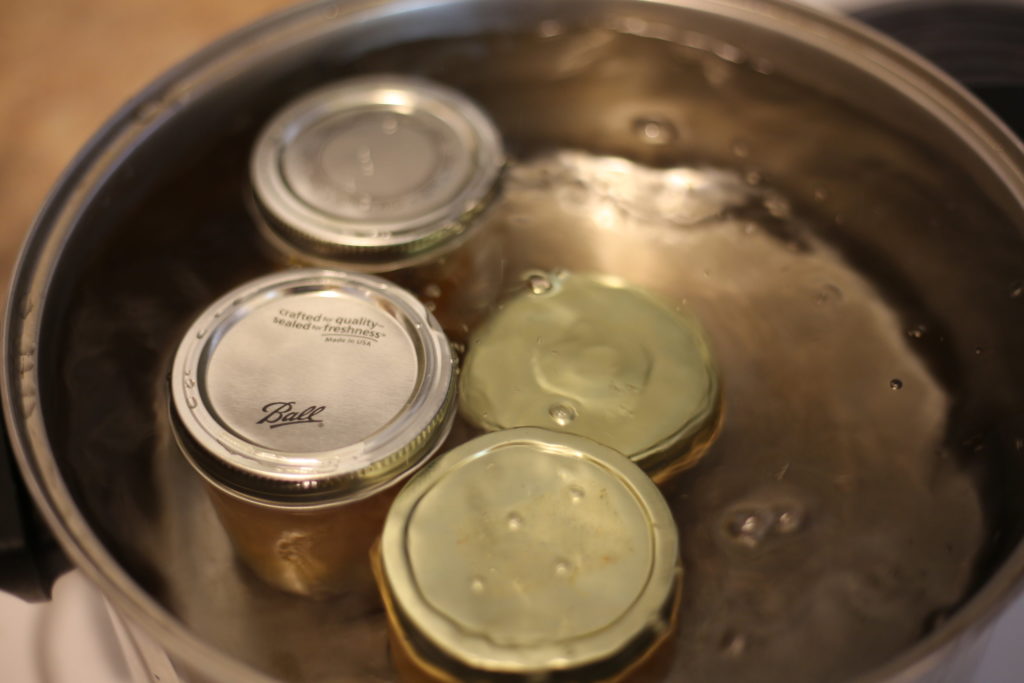
Submerge cans in a pot of boiling water.
To ensure they are properly sealed, boil for 10 minutes! Again, this is important. Set a timer for 10 whole minutes!
Step Eight: Remove, cool, and enjoy!
Carefully remove jars from boiling water. Jars will be hot.
The experts at ECHO recommend a canning jar lifter. This is the best tool for taking the hot cans out of the boiling water safely.
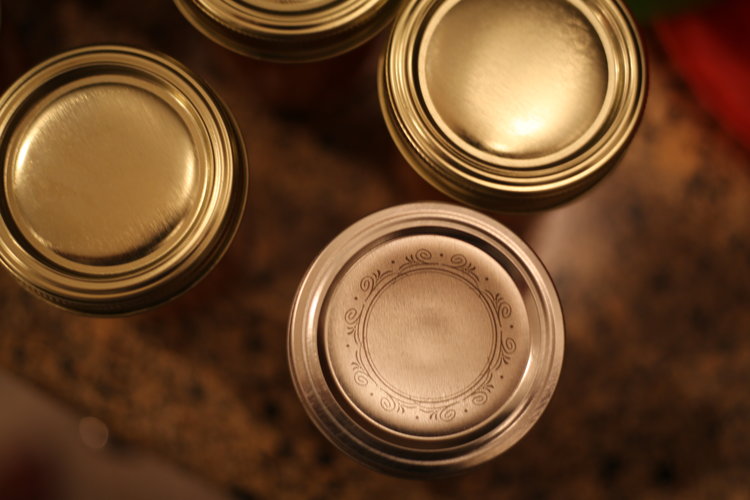
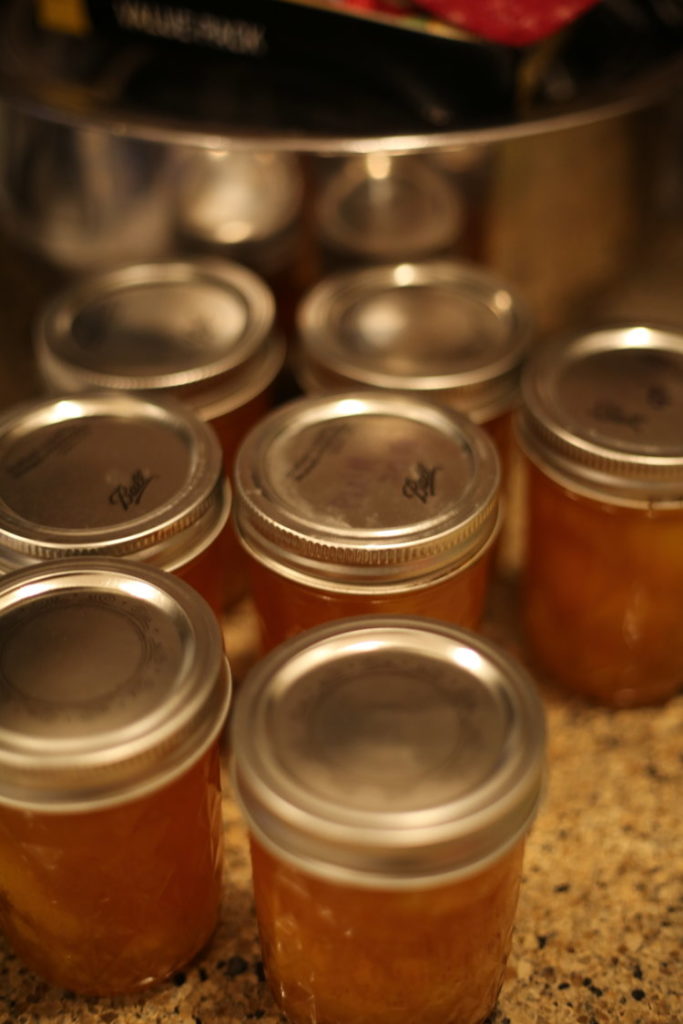
Set them aside on the counter to cool. We suggest leaving them out overnight. Jars may make popping sounds- this is a good sign! It means they are sealing.
After jars have cooled, keep them in a cool dry place and use within 18 months to 2 years! Consider labeling your new favorite jam with an “enjoy-by” date.
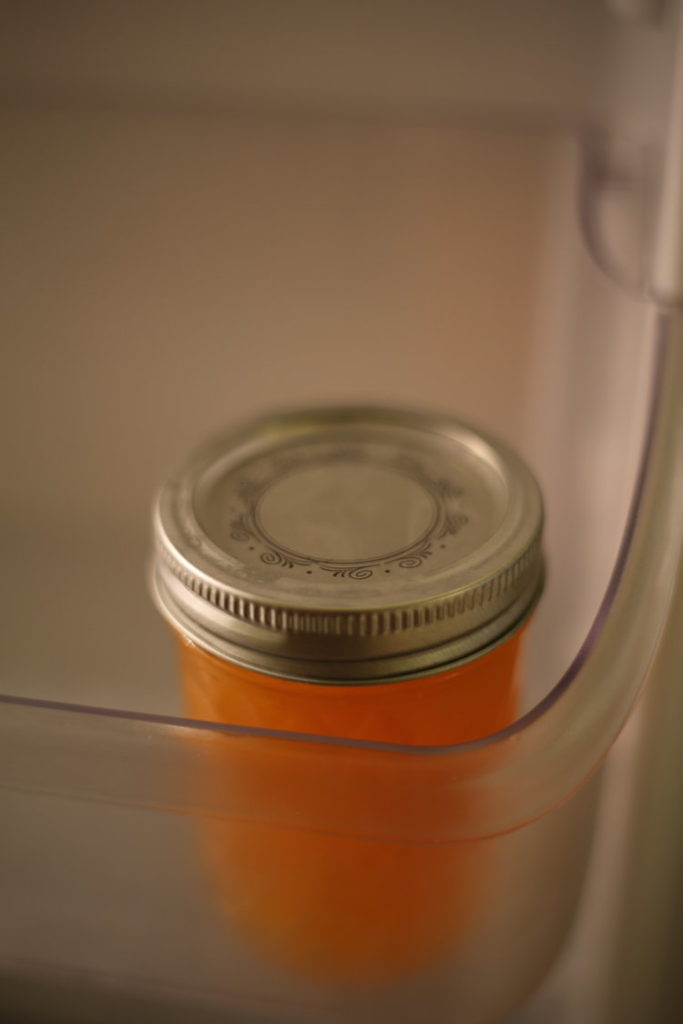
Once opened, store the jam in the refrigerator.
Enjoy!!
And there you have it! A simple eight-step process for mango jam that’s perfect for beginners or experts.
If you try this recipe at home tweet us a photo @ECHO_net or tag us on Instagram or Facebook @echofightshunger. We would love to see your results!
Check back next week for another post with ideas for a variety of uses for this delicious mango jam!!
Maddie Christy
// Maddie is one of two 5-week storytelling interns at ECHO, and a student at Bethel University’s Johnson School of Journalism. Follow the ECHO blog and ECHO News magazine for more of her work!
__
ECHO provides hope against hunger around the globe through agricultural training and resources. As a Christian technical networking and resourcing organization, ECHO builds a diverse, global network and serves that network by sharing validated contextualized agricultural options with technical excellence. ECHO’s goal is to serve its network members to advance food security and sustainable livelihoods. ECHO’s North American Regional Impact Center is located in Fort Myers, Florida with a global presence through four Regional Impact Centers in the USA, Thailand, Tanzania, and Burkina Faso. For more information about ECHO call 239-543-3246 or visit echonet.org or ECHOcommunity.org.
