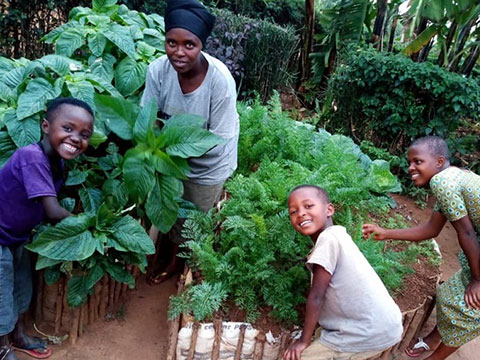


Hey, this is Gabby, a volunteer at ECHO! I’m here to share with you an awesome post from the Childhood 101 blog about how to make a worm farm —at home, with your family! ECHO loves to promote composting with worms because they are great at turning food scraps, shredded office paper, and coffee grounds into incredible compost. We use worms on the ECHO Farm all the time, and we just taught a local school how to make their own worm farms! Here’s Childhood 101’s tutorial:
Have you or your children ever wondered what earthworms actually do for our earth? It’s hard to believe these smooth, and slippery little beings are actually one of the most significant contributors to our ecosystem; they are helpful to the natural soil system, as well as humans!
The scientists at Science Learning Hub, often describe Earthworms as engineers of a sort, because they change the physical, biological, and chemical properties of the soil. These changes influence the habitat and activities of other plants and organisms within that ecosystem. So—what you ask, are the actual benefits to starting your own worm farm?
Earthworms, fungi, and other bacteria decompose organic material found in compost piles, pastures, and plant waste. This decomposition leads to the absorption and incorporation of organic materials into the soil, and unlocks the nutrients hidden inside the organisms and plant matter.
Nutrients like phosphorus and nitrogen become readily available to the plants after the earthworms digest the matter. These nutrients are then excreted through the earthworm casts.
Other than creating the nutrients in the soil, the earthworms are also responsible for spreading it, and bringing it into closer contact with the plant roots.
Small spaces in the soil known as pores, are created by earthworms to increase water infiltration and circulate air. The worms create these small spaces by burrowing into the soil, this can lead to an increase in water infiltration by rates of 10% but also enhances root penetration, so the plants in the soil grow strong from the inside out!
Still curious on how to build your own? Follow these easy steps!
Materials:
- 2 Large Styrofoam boxes, with lids.
- Knitting needle/Chopstick/Screwdriver (to poke holes in your styrofoam box)
- Worm Bedding: Compost, shredded paper, leaves, or straw works fine.
- 1 Handful-Compost worms: You can buy them online or get them from a friend or neighbor that has a worm farm.
- A newspaper
Directions:
- Poke holes in the bottom of one of your boxes. This box is the ‘feeder box’ – where the worms will live and feed.
- Fill half of the feeder box with the worm bedding. Make sure your bedding is moist but not wet. If you are using dry materials like straw or shredded paper, wet them first and then squeeze out any excess water.
- Carefully scatter the worms on top of the worm bedding.
- Soak the newspaper in water and lay it on top of the worm bedding. This will help keep the worms’ home dark and moist.
- Place the feeder box on top of the other styrofoam box that doesn’t have any holes. This lower box is where the worms’ urine will be drained.
- Place your worm farm in a shady spot in Summer and a sunny spot in Winter.
How to Care for Your Worm Farm:
- Leave your worms to settle in for a week.
- After a week, you can start adding kitchen scraps on top of the bedding, underneath the newspaper. Add only small amounts (around a handful) initially. As more worms breed they will eat more food. Eventually your worm farm should be able to handle most of your kitchen scraps.
- Keep the top layer of newspaper damp and replace as needed.
- To harvest the worm castings, move all the castings to one side and add fresh bedding to the empty side. Most of the worms will move to the fresh bedding and in a few days, you can then remove the castings. Worm castings are a great plant food. Grow seedlings direct in the castings or use it to top fertilize your potted plants or garden.
- The worm urine, collected in the bottom box, is a super plant fertilizer! Pour the worm urine from the bottom box into a watering can, or bucket, and dilute 1 part worm juice to 20 parts water. It is too strong to use undiluted!
- You can eventually increase the size of your worm farm by adding an additional feeder box on top, creating a multi-story worm farm. The worms will migrate up through the holes to the new bedding.
- After the worms have all migrated to the top box you can plant seedlings directly into the initial feeder box to create a miniature garden.
Sources: