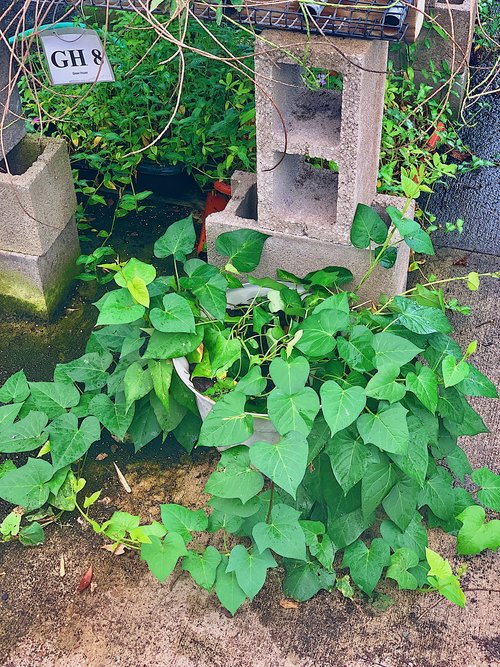
It is a gorgeous late Spring day on ECHO’s farm this morning! Today, our talented Propagation Manager shows us how to propagate some beautiful, purple sweet potato cuttings. We utilized “soft-wood cuttings,” a type of cutting that is perfect for growing sweet potatoes. It is easy, efficient, and incredibly sustainable. If you have access to a particular sweet potato variety, you may want to hold onto it and grow it! Currently, ECHO has about 9 varieties of sweet potato on the farm—all of which have different qualities.
Before we begin the propagation process, ensure all of the materials you need are in front of you:
- One (or a few) plastic planters
- Compost/soil mixture
- cutting shears
- isopropyl alcohol in a spray bottle (used to sterilize the shears before cutting)
- 1 paper marker, to mark the date & variety of cuttings
- 1/4 cup of fertilizer
Start by filling your planter(s) with a well-drained soil. For today’s propagation, we used a combination of sand, bark chips, and compost. The bark and sand help excess water drain off, while the compost holds onto the necessary amounts of water—keeping the balance perfect for dry and wet. Our propagation manager recommends NOT using pre-mixed fertilizer in this mix, because there are specific times when a grower would want to use that in the growing process.

The soil used for the propagation of purple sweet potatoes is a combination: sand, bark chips, & compost.

Our propagation manager proceeds to sprinkle about 1/4 cup of fertilizer around the perimeter of the pot, and afterwards, evenly distributed another layer of soil on top to cover it.
When your planter is full, you can proceed by sterilizing your cutting shears with your alcohol spray. This crucial step ensures fungi and bacteria are not passed from one plant, to another.

A mature sweet potato plant is flowering in the morning sun. Planted on ECHO’s research farm in Fort Myers, Florida.

Ensure your shears are completely sterilized by spraying both sides completely with the isopropyl alcohol.
Next, begin to make cuttings from a current growing plant—you can see below, our propagation manager snipping a vine off a young purple potato plant.
From here, she cuts a few stems off of the vine. Make sure to choose ones with small growths—this is a good indicator if a thriving, strong plant (see below)

When the stems are trimmed off, you can start to cut off most of the leaves, we left about 3 or so on the stem, and then cut them in half (see below).

Leaves can be compared to solar panels—they feed the plant, but also pull moisture from the soil. In order to reduce transpiration, the key is to reduce the number of leaves.
Place your final cuttings into your planter.

The cuttings need water but not saturation: make sure to wet the soil and cuttings with a shower-like water pressure and keep the soil moist. The cuttings don’t have roots yet, and can’t pull enough moisture out of the soil, if you over water them, they will rot instead of flourish. Treat your cuttings as if they are recovering from surgery, you wouldn’t want it exposed to direct hot sunlight, or drenched in a ton of water; think of a more controlled environment.

If you have access to a green house, you can place your planter towards the middle of the floor—away from the sun and elements that the plant would have been exposed to, if it were placed directly to one side. Greenhouses receive about 50% shade, so placing it in the middle, ensures your cuttings receive 50% sunlight as well. Once your cuttings start growing new leaves, then you can move them to full sun. Luckily, sweet potatoes can handle either sun or shade really well.
If you don’t have access to a greenhouse, place your planter in a slightly shadier spot, away from full direct sunlight.
Be sure to label everything you do and record any information you would want to keep for future reference. This is essential when propagating several cuttings in separate planters.

As the grower, you can control what a specific cutting needs—some things need a ton of drainage, some things need more rich soil. However, each plant and environment is different. Research what plants flourish the best in your area—and from there you can determine what cutting technique is most efficient for the plant you want to grow.
One of the greatest aspects of propagation, comes from the ability to sustainably grow more crops in less time, compared to the amount of time needed to grow your crop from seeds.

Picture taken 2 weeks following propagation.
ECHO has been using this propagation technique for decades, all across the globe. It is a vital practice for several third-world farmers and their families, who struggle to effectively grow food in challenging conditions; whether that be poor soil, droughts, lack of usable seeds, etc. ECHO’s mission involves not only solving hunger problems, but also the promotion of sustainable farming techniques; by introducing nutritional plants, and appropriate, reliable technology. The steps are well-tested and proven to be successful throughout various environments around the globe—from our research farm—all the way to Asia—these techniques give us all the opportunity to learn, grow, and become anew.


